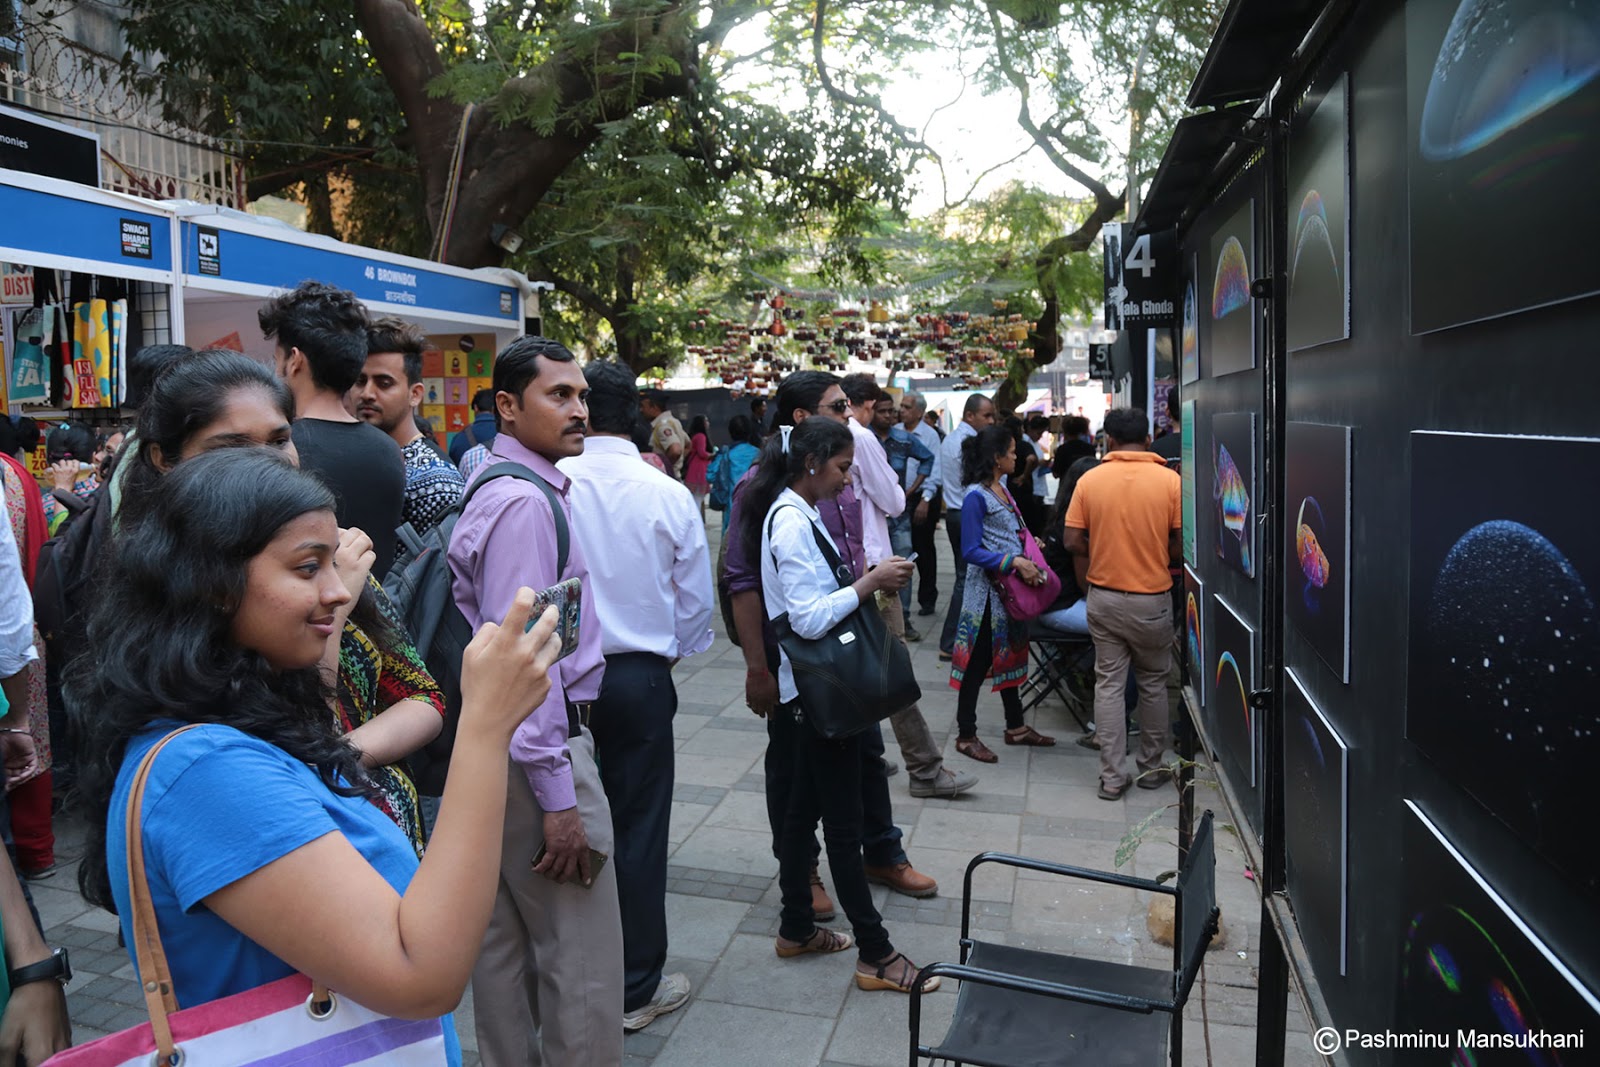
Fine Art Photography of bubbles that reveals their amazing colours, contrasts, contours and complexities heretofore unseen by the human eye. The iridescent soap film, which has a thickness of 10 to 1000 nanometers, consists of a thin sheet of water sandwiched between two layers of soap molecules.
Holding a solo photography exhibition at an
art gallery is always an emotional and proud feeling for most artists, even
those who have held previous solo exhibitions. I am no exception; when I held
my first solo photography exhibition of bubbles at Piramal Art Gallery;
situated at National Centre for Performing Arts (NCPA) from 10th to 19 June;
2016.
Yes, each and every exhibition is
special and unique.
Why? There is change of location,
audience and the art works on display.
All artists are evolving and
offer new sets / series of their art works at an exhibition.
Being my first solo exhibition,
there was always lots to be learnt and shared with the visitors.
Here are the 5 things, that I
learnt from holding the solo exhibition featuring 30 photographs of bubbles:
1. Going solo is a double edged
sword:
Organising an exhibition as
anindividual is a daunting task.
The gallery is booked typically,
3-4 months in advance if not more.
Displaying the art works
requires: selecting the photographs, printing, framing & mounting.
Another consideration is the
space allotted for the exhibition. Careful planning before-hand allows an
artist to organise the number of prints according to the size of the walls /
panels.
Displaying the exhibition as a solo
artist, means that all the expenses from booking of the gallery to
transportation has to be borne by him/her. But the upside is that: It is a SOLO
exhibition, where all the credit goes to be artist and so does all the flak!
It is all more important to make
a check list of the items required for the exhibition and tick them off, while
setting up the gallery.
The typical item list would:
a. Photographs
b. String for hanging the frames
c. Cutter
d. Pair of scissors
e. Visitor Book
f. Pamphlets
g. Standee displays
h. Business Cards
i. Certificates etc.
k. Stationery
l. Packing material to pack the
frames post exhibition.
Having a group exhibition takes
away care of most issues, as you can pool in resources to manage various
aspects of the exhibition.
2. Location makes a big
difference
The location / place of the
exhibition gallery can make or break it!
A popular gallery will have
natural footfalls and inherent popularity; that attracts visitors and media.
Having to display in a gallery
that is not so well know, can create a huge amount of strain on the artist; as the onus of promoting the
exhibition falls squarely on the artist's shoulders.
Always select a gallery that has
natural footfalls and good location; even if you have to wait for a
considerable period of time; which maybe 6-12 months!
3. Marketing & networking
On-line and Off-line marketing
have direct impact on the selected online people who may come there and express
their reviews.
Online, an exhibition can be
promoted via. Facebook profile & Facebook page. There is paid Facebook
campaigns, that may help you in generating more page views & page 'Likes'.
On Facebook and other social
media platforms; post regularly, about your exhibition, with details,
photographs, venue address and a custom designed invite!
Facebook Page Header Image
Use the same strategy for sending
invites to selected number of your friends, associates and family members using
WhatsApp. An easy method to implement is with Web version of WhatsApp, that
allows you to drag and drop the invites to individuals and groups.
Do not underestimate your own
network of friends, relatives, office colleagues & business associates.
Spread the word about the exhibition
well in advance and remind them via. Calls / SMS / WhatsApp a day before the
commencement of your exhibition.
Organise an opening ceremony and
try to get the inauguration of your exhibition by a local celebrity.
WhatsApp Exhibition Invite
4. Display work
Display only best of the your
photographs.
Take care to avoid any repetition
and arrange the photographs such that the visitors are interested in the
exhibits.
Put you name tag along with
details about the photograph; stick it behind the frame with a double sided
tape.
The size of print (photograph),
mount & frame all are important.
As rule of thumb: keep the mount
width twice the width of frame.
For my exhibition, I had a 4
inches mount width and 2 inch black frame.
Video of Bubbles Exhibition:
5. Visitor Interaction:
Engage the visitors in lively
talk and walk around the gallery with them, explaining your thoughts on each
photograph and why you as an artist find it interesting and in first place, why
did you capture that shot.
Business Card for Exhibition
Exhibition Business Card with website and Facebook Links
Keep handy your business cards,
that should have your contact details along with website and Facebook page URLs
mentioned clearly.
Having a visitor book, help you
in two ways: get their feedback and collect a database of email addresses, so
that you can reach out to them for your next exhibition.
Try to arrange for a camera on
tripod and mounted with flash unit and remote trigger, so that you can capture
photographs of the visitors (after taking their permission) along with you as
well as browsing in the gallery.
Reach out to your visitors, by
sending friend request on Facebook and connecting with them in future.
Example Video of Visitors at my exhibition:
Conclusion:
All in all, it takes discipline
and some preparations to get interesting visitors to your exhibition and make
it grand success.


